
Installing shade sails is a practical and stylish way to provide sun protection in outdoor spaces, making them more comfortable and usable during hot weather. To achieve maximum coverage and ensure the longevity of your shade sail, consider the following steps.
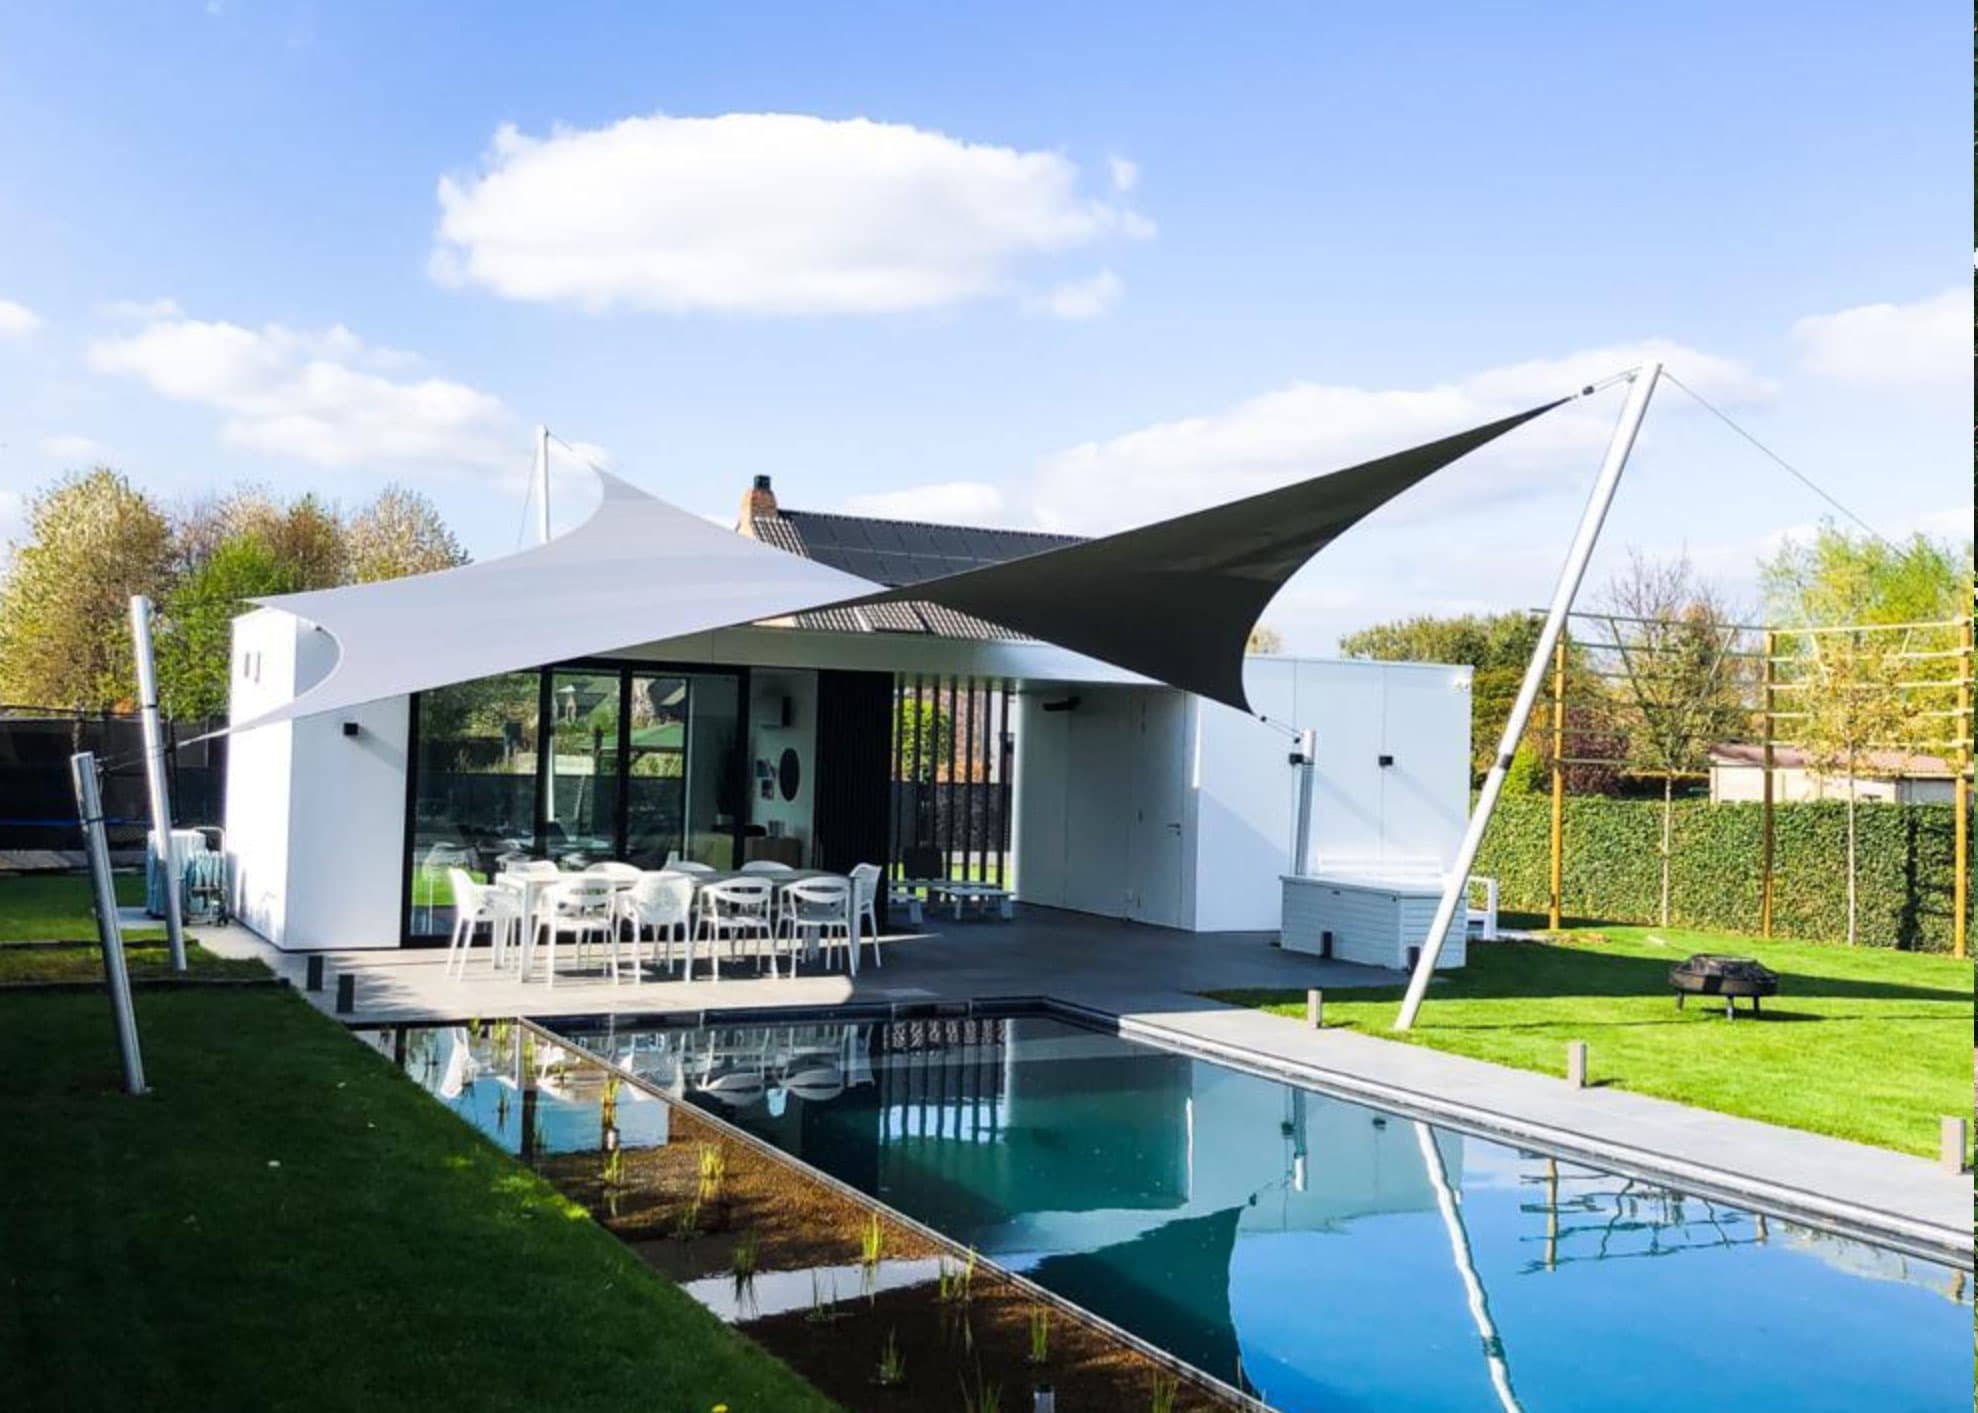
Firstly, planning is crucial. Begin by assessing your outdoor area to determine where you need the most shade. Identify fixed points like walls or sturdy posts that can support the corners of your shade sail. If these are unavailable, you may need to install additional posts or structures specifically for this purpose.
Once you’ve identified potential anchor points, measure the area carefully. Accurate measurements will help you choose a correctly sized sail that provides optimal coverage without sagging or overstretching. Consider the sun’s path throughout the day; positioning your sail at an angle can enhance its shading capability as well as allow rainwater to run off easily.
Next, select high-quality materials for both the sail and its fixtures. Shade sails are available in various fabrics such as polyethylene mesh or canvas; each has different levels of UV protection and water resistance. Stainless steel fixtures are recommended for their durability against weather elements.
Installation begins with fixing anchor points securely using eye bolts or pad https://shade4you.eu/en_GB/c/SHADE-SAILS-MADE-TO-MEASURE/148 eyes attached to walls or posts. Ensure these anchors are robust enough to bear tension from wind pressure on the sail surface. If you’re installing new posts, they should be set deep into concrete foundations for stability.
Attach turnbuckles or adjustable tensioners between each corner of the shade sail and its corresponding anchor point. These devices allow you to adjust tension easily once all corners are connected, ensuring a taut fit which minimizes flapping in windy conditions.
When attaching your shade sail, start with one corner before moving diagonally across to another corner until all sides are secured evenly yet tightly stretched outwards from center point towards edges – this helps maintain shape integrity over time while preventing premature wear-and-tear along seams due excessive movement caused by loose fittings under stress loads exerted during adverse weather scenarios like strong gusts etcetera!
Finally check everything thoroughly after installation: inspect every fixture used make sure nothing’s come loose inadvertently during setup process itself thereby compromising overall safety structural integrity entire arrangement involved here today now done successfully completed task hand just few moments ago earlier today perhaps even yesterday who knows really doesn’t matter much ultimately what counts end result achieved desired outcome fully functional aesthetically pleasing addition property landscape garden backyard patio deck wherever else might reside currently moment writing piece informative guidance helpful useful insightful resourceful everyone reading hopefully find beneficial worthwhile endeavor embark upon future endeavors similar nature likewise accordingly henceforth forthwith thereafter subsequently consequently thusly amen so be it let there light shine brightly evermore always forevermore eternal sunshine spotless mind indeed!